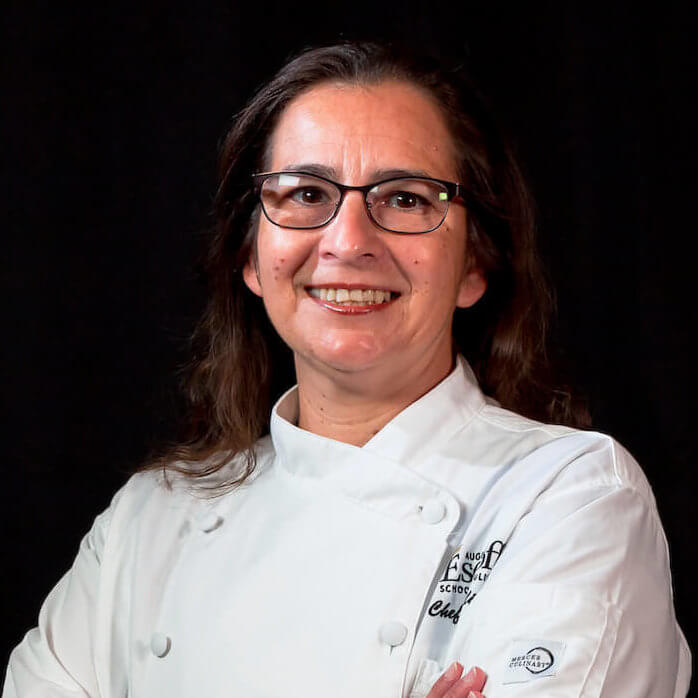
Escoffier Chef Instructor Billie Sutton brings a keen eye for detail and an incredibly artistic flair from her many years of food styling and presentation, including on-set for shows like WestWorld, NCIS, Cool Kids, and The Call of the Wild!
She is thrilled to present this contemporary plated dessert, which represents the gorgeous colors that brightly pop during the Spring season and the annual Hindu festival, Holi. The final dish encompasses four components: creamy panna cotta, sweet fruit coulis, crispy almond tuile, and a crunchy candied nut garnish. Watch Chef Billie put together this delectable – and beautifully presented – dessert. As she says to her students, “Baking is love made visible.”
The entire printable recipe card is here, but the ingredients and instructions for each component are laid out below as well.
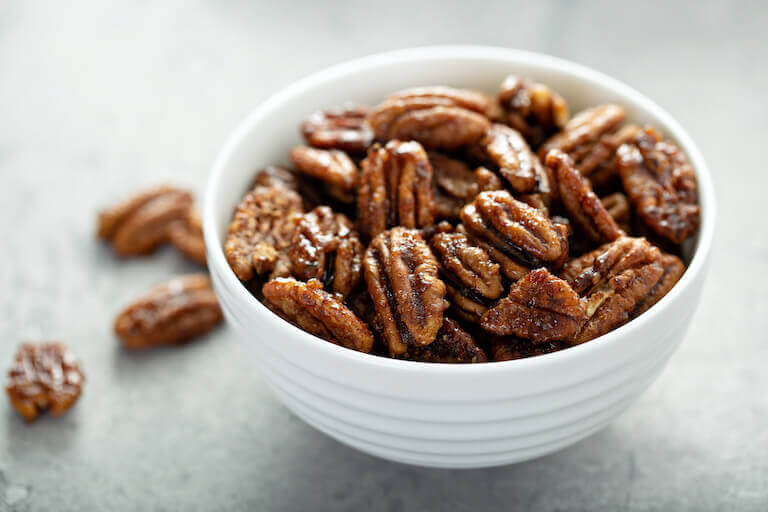
How to Make Candied Nuts
Ingredients
Here’s what you’ll need to gather for this component.
- 200g (100%) Sugar, granulated
- 58g (29%) Water
- 15g (7.5%) Corn syrup
- 91g (45.5%) Nuts, choice, whole or chopped
Instructions
1. Wash a heavy bottom sauce pot making sure it is free of debris.
2. Put the water in the pot and gently pour the sugar into the center, then add corn syrup.
3. The sugar will absorb the water, so avoid stirring.
4. On medium heat, melt the sugar, then increase heat and bring to a boil, boiling the sugar syrup until it is a light amber honey color. Sugar gets darker after removing from the heat.
5. Toss nuts into the syrup, stir to coat evenly. Using a slotted spoon, remove nuts and drain excess syrup, then cool and store in a dry covered container.
6. Alternatively nuts can be dipped individually, by placing them on a skewer or toothpick first.
How to Make Fruit Coulis
Ingredients
Here’s what you’ll need to gather for this component.
- 170g (100%) Fresh or frozen fruit
- 30g (17.64%) Water
- 85g (50%) Sugar, granulated
- 5g (2.94%) Lemon juice
*Frozen fruit defrosted*Trim fresh fruit if applicable
Instructions
1. In a medium saucepan, combine water, sugar, and berries.
2. Cook over medium heat for 3-5 minutes, until berries become tender and the sugar is dissolved in berry juice. Lightly mash berries while cooking.
3. Add lemon juice to the berry mixture and run in a food processor or blender until smooth.
4. Strain purée through a fine mesh sieve to remove seeds and pulp. Adjust consistency until it’s that of a puree (half liquid, half solid) by using water or reduction.
5. Place in a clean container and store in the refrigerator for up to one week.
“A lot of those final plates on many baking and cooking shows are done by food stylists. If you see a tower of macarons, it’s going to be the food stylists doing it.”
Escoffier Chef Instructor Billie Sutton*
How to Make Panna Cotta
Ingredients
Here’s what you’ll need to gather for this component.
- 200 g (50%) Whole milk
- 200 g (50%) Heavy Cream
- 35g (8.75%) Water, Cold
- 7g (1.75%) Gelatin, powdered
- 83g (20.75%) Sugar, granulated
- 3g (0.75%) Vanilla extract
Instructions
1. Sprinkle the gelatin over the cold water, let sit for five minutes.
2. Heat the cream and sugar until the sugar dissolves.
3. Add the softened gelatin and milk to the hot cream mixture and stir until dissolved.
4. Do not boil.
5. Turn off the heat and add the vanilla.
6. Pour into 3 oz or 4 oz (85g -113g) molds.
7. Chill for several hours until set.
8. Dip mold in hot water to unmold.
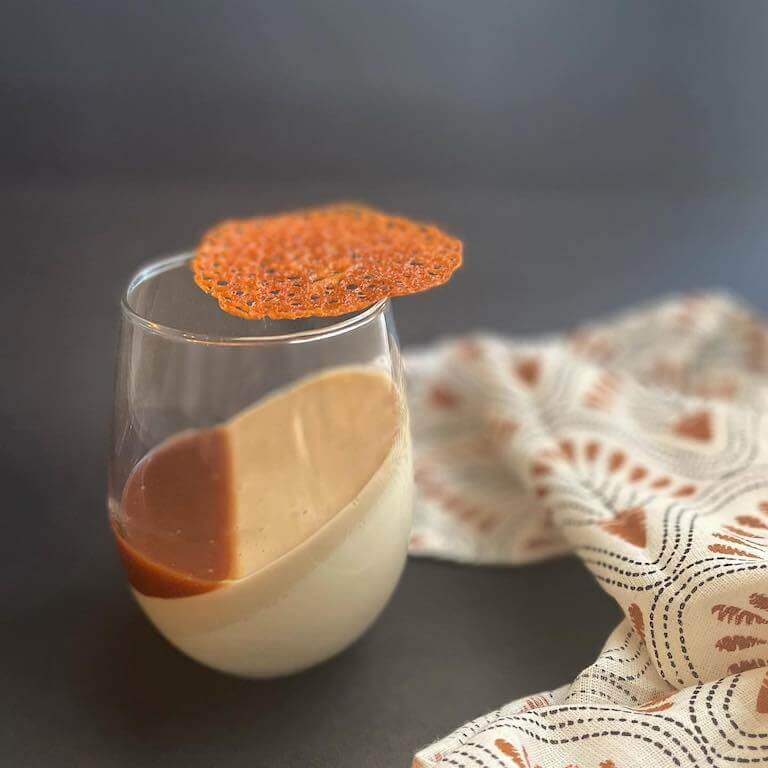
Panna Cotta from Escoffier Baking and Pastry Student Devin Butts.
How to Make Almond Tuile
Ingredients
Here’s what you’ll need to gather for this component.
- 75 g (100%) Cake flour, sifted
- 64 g (85.33%) Butter, softened
- 86 g (114.66%) Powdered sugar, sifted
- 64 g (85.33%) Egg whites
- 54 g (72%) Almonds, sliced
Instructions
1. Using the paddle attachment on a stand mixer, soften the butter to a creamy consistency. Add the sugar and beat until thoroughly mixed.
2. Beat in the egg whites.
3. Add the flour over the mixture and mix well.
4. Allow to chill in the bowl for 4 hours in the refrigerator before using.
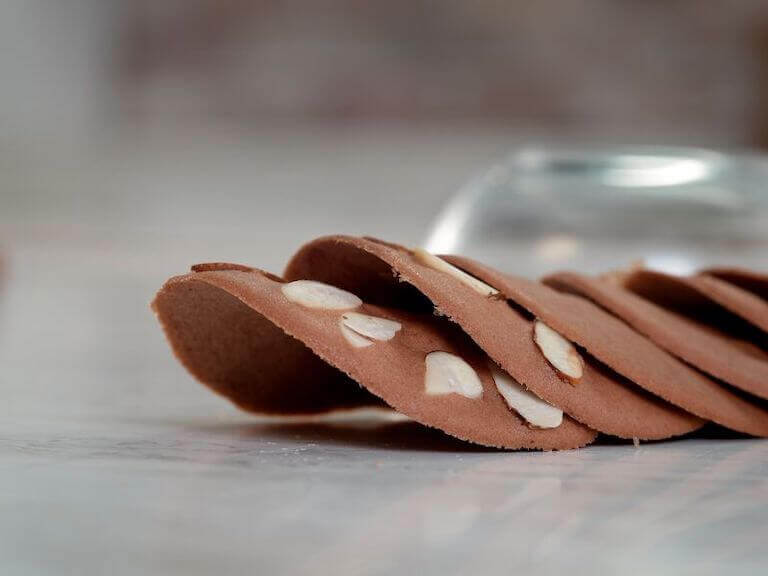
5. Preheat the oven to 350° F. Form the chilled dough into thin rounds using an offset spatula. Silicone mats work best for tuile cookies. Top with sliced almonds and bake until the edges are light golden brown.
6. Remove from the oven and immediately shape the cookies by placing them over a rolling pin or similar object. Allow to cool completely and then use immediately or store in an air-tight container at room temperature.
Additional Tips and Techniques
Chef Billie shares a few additional tools, techniques, and tips to make your plating experience more seamless.
Tips for Recreating This Dessert
Tools like tweezers and droppers can help with expertly-plated gastronomy, especially taking miniscule ingredients and placing them perfectly, or drizzling the right-sized dots on a plate. A silicone mold can work really well with this particular dessert and is ideal for manipulating shapes.
When you’re building height with airy, lightweight ingredients, ensure you add some weight. This might be accomplished by using an additional item of the same ingredient (like the almond tuile) situated at the base of the dessert. This way, if the dish is being carried by a server, it won’t collapse, crumble, or blow away.
Keep in mind that fat carries the flavor in desserts, so you can use a variety of heavy creams and dairy products for this one.
“Getting a degree or certification can be a great foundation and make you stronger [as a food stylist]. Having a culinary degree is one of those qualifications a lot of food stylists don’t have.”
Escoffier Chef Instructor Billie Sutton*
Use a bit more gelatin or a bit less liquid for the panna cotta if it’s too runny. Add a bit more liquid or a bit less gelatin if it’s too firm. And ensure you leave it to chill in the fridge for several hours – don’t take the dessert out too early!
General Guidelines for Plating
Contemporary plating involves several key components. There should be a main component, a sauce, a crunch, and a garnish. (Whenever you do plating, ensure you have plenty of backup garnishes!)
Cold food should be plated on cold dishes, hot food on hot dishes. The art of food presentation uses elements like color, texture, height, and negative space to create aesthetically-pleasing dishes. Less is more with plating, so start with a little and then add gradually.
Chef Billie says the acronym to remember in plating is “BUFF”: balance, unity, flow, and focal point. And go easy on yourself – food presentation is all about gathering inspiration, getting creative, playing around, and then seeing what works and what doesn’t!
Food Presentation… Your Next Career Move?
If you’re ready to take your food plating skills to the next level and explore this craft, consider getting a formal education in the culinary arts.
From degree and diploma programs in the culinary arts to the baking and pastry arts… from on-campus programs to online options… you can interface with professionals like Chef Billie and explore tools and techniques to help you master food presentation!
For more scrumptious recipes from Escoffier Chef Instructors, try these:
- How to Make Brown Butter & Sage Gnocchi
- Mother’s Day Recipes Hand Crafted by Escoffier Chef Instructors
- Ring in the Holidays with these Escoffier Chef Inspired Recipes
*Information may not reflect every student’s experience. Results and outcomes may be based on several factors, such as geographical region or previous experience.
 “A lot of those final plates on many baking and cooking shows are done by food stylists. If you see a tower of macarons, it’s going to be the food stylists doing it.”