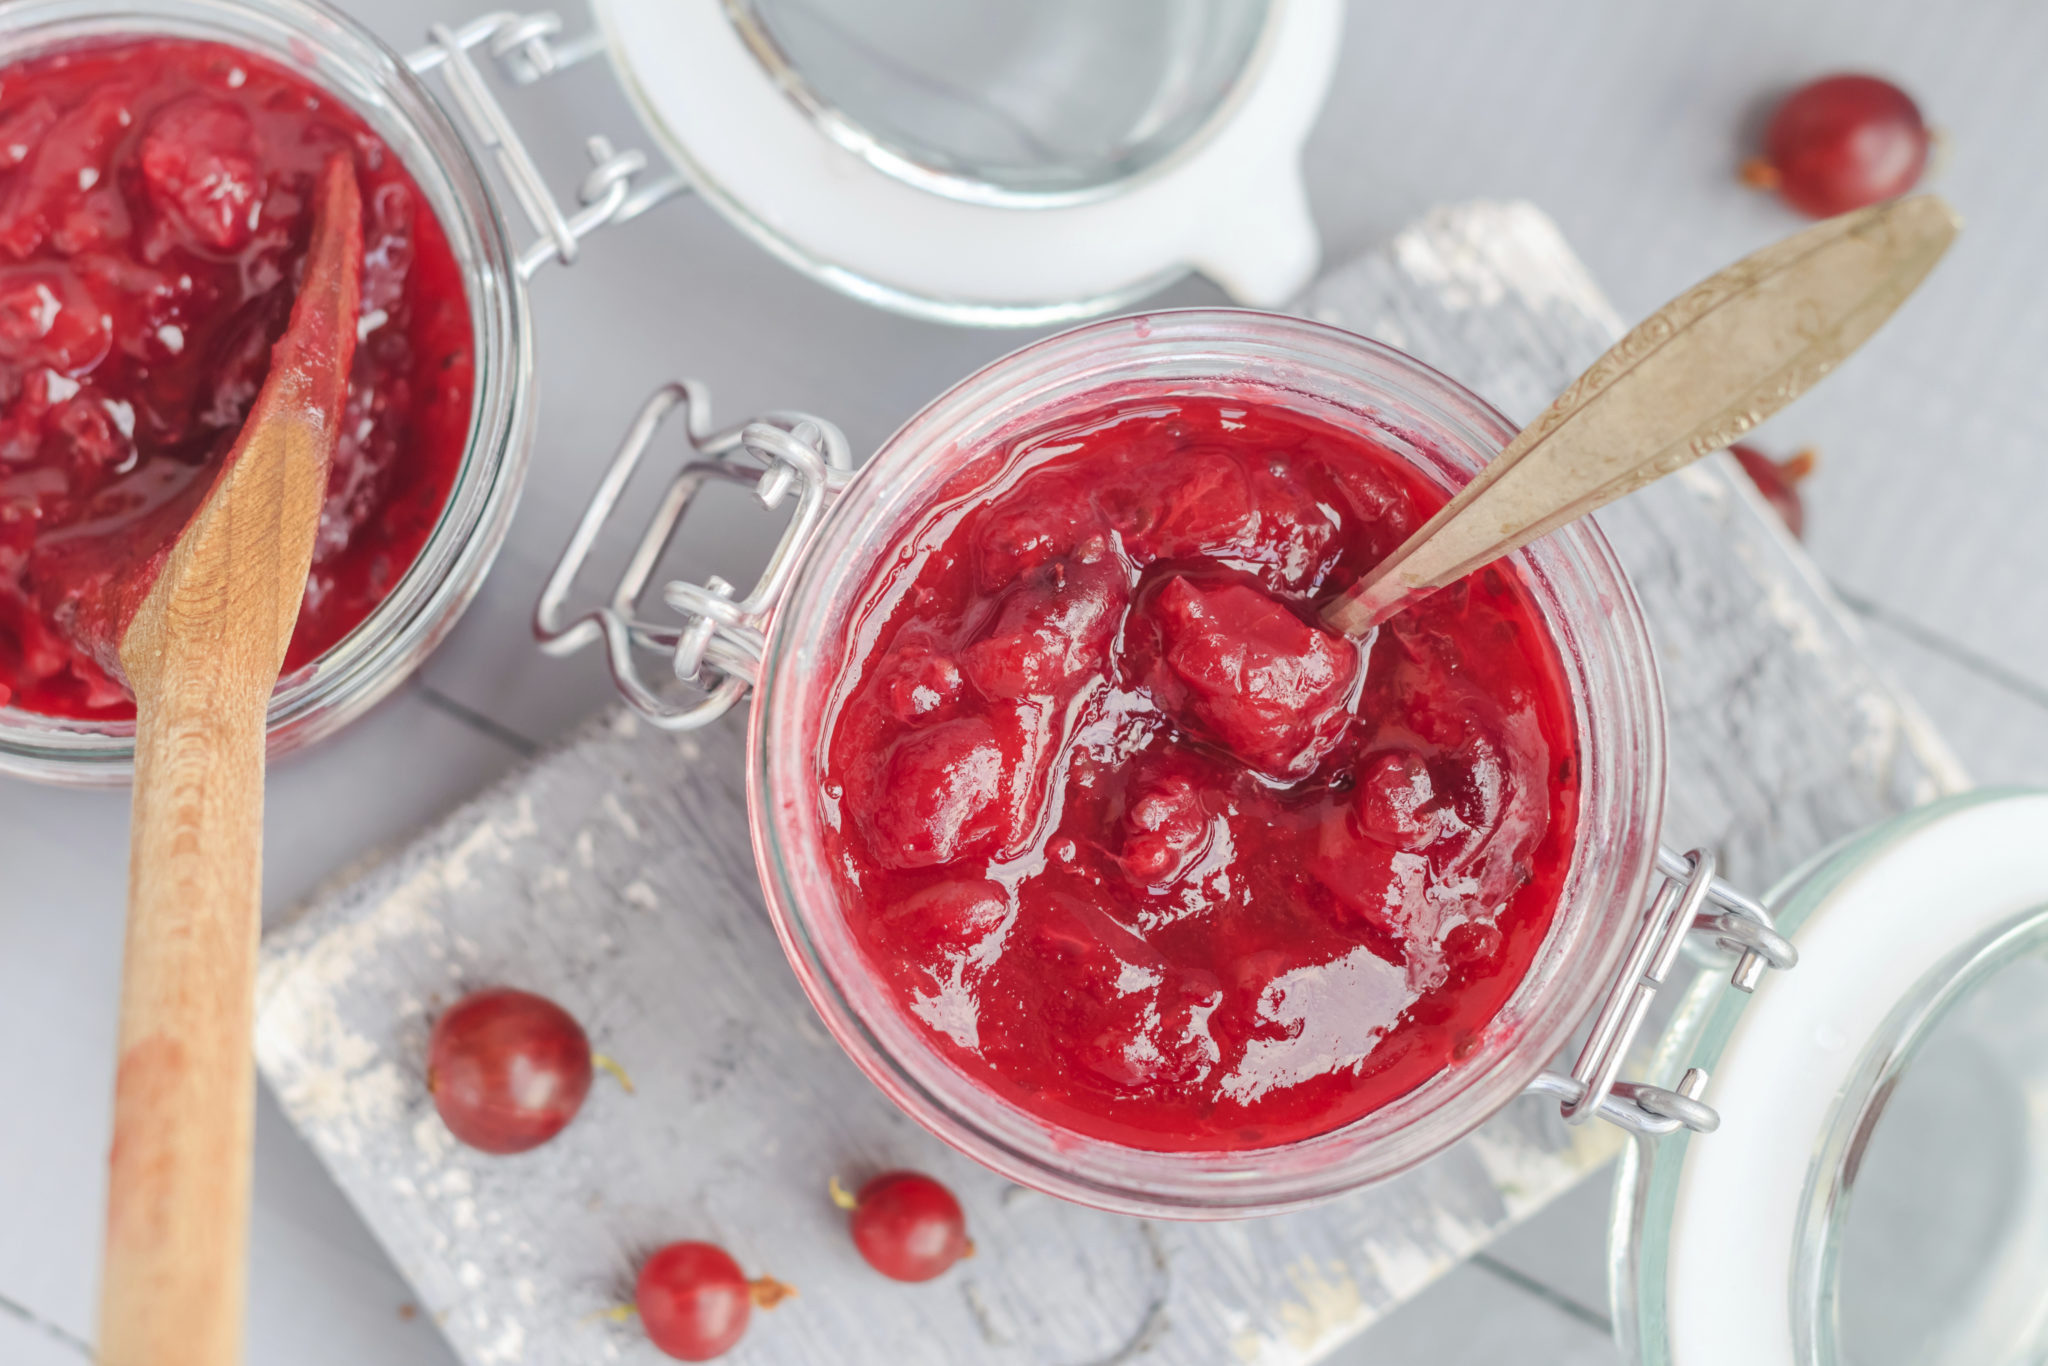
As The Republican newspaper pointed out, chefs across the country have spent the last few years developing a keen interest in canning. As more of these folks are opting for locally sourced ingredients, canning is a way to perfectly preserve vegetables, sauces and other standbys. If you’re interested in canning, here are a few handy tips to get you started:
1. Gather your equipment
Proper canning begins with having the right equipment. In this instance, you’ll need the following:
- Lids and jars (Opt for jars with a two-piece lid and band, as they’re reusable.)
- Large pot
- Canning rack
- Stainless steel ladle
- Sturdy kitchen tongs
- Plastic canning funnel
- Lid lifter
- Strainer
- Towels
2. Chose your preferred method
Canning itself is a fairly straightforward technique. By applying heat to food within a glass jar, you create a seal, and that can keep food fresh for weeks or months at a time. But as FreshPreserving.com pointed out, there are two methods you can use to achieve this result.
“Canning is a great way to preserve sauces, soups, vegetables and other food products.”
Pressure canning involves putting cans in boiling water (240 degrees Fahrenheit) and then moving them to cold water. This sudden temperature change results in a pressure drop that preserves the food within. Whereas pressure canning works best for low-acid foods, other foods will require water bath canning.
Here, high-acid foods – like jams, tomatoes, fruits, condiments, etc. – are preserved via a similar process, albeit slower and with much colder temperatures. Because of the acidity of these foods, they don’t require the warmer temperatures to destroy bacteria.
3. Take time with seals
If you want to create the best seal with each of your jars, Martha Stewart offered up a few handy tips. Air bubbles are the enemy, but you can get rid of them by using a chopstick to move and poke around the jar’s contents. When screwing on the lid, it must be as tightened as as far as it’ll go; keep some pressure on the jar while screwing it shut to be sure. To make sure the entire jar is fully sealed, there has to be enough water during canning. To be safe, you need at least two extra inches. Finally, once the jars have been boiled, they need to be set for at least 24 hours to fully seal.
4. Troubleshoot as you go
As you begin canning, you may encounter a few issues, as Serious Eats explained. One of the most common is that food on the jar rim prevents it from being closed properly, which can be fixed by making sure everything’s been cleaned beforehand. Some people also put warm food product into jars; this can cause an excess of heat and prevent a vacuum seal from forming. You may also notice some food’s gone missing during the canning process. This is called siphoning, and is totally norml as rapid cooling just moves some product out of the jar.
5. Pay heed to your preserves
According to PickYourOwn.org, it’s important to pay attention to what you’re trying to preserve. For instance, you never want to add in butter or other fats, as they will spoil almost immediately. Same goes for overly ripe fruit, which won’t improve while being preserved, and seasonings or spices, as these can negatively interact with any lingering bacteria. Lastly, avoid the use of thickeners with sauces or soups as these can interfere with the canning process.


